
DIY Up-cycled Wood End Table (With Instructions)
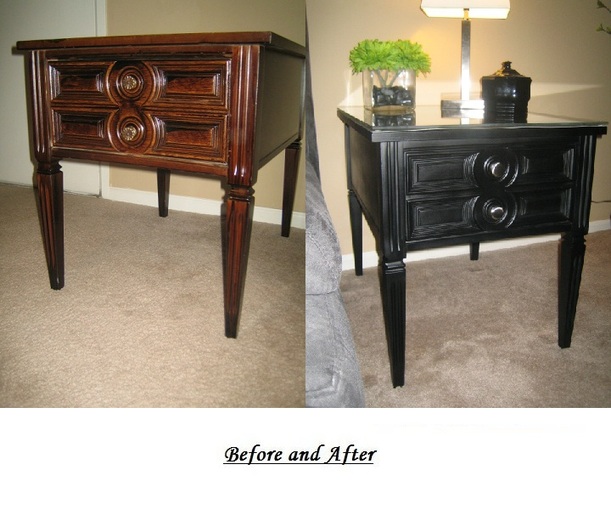
You like me and don't like spending hundreds of dollars on furniture accessories? Well, I found this amazing end table/ night stand at a local thrift store for a great price ($20)! I rehabbed it by adding a brand new solid black paint job, with new chrome knobs added and a custom quarter inch glass top.


Materials Needed Below....
( Click each thumbnail to enlarge and get details below)


Before Photos Below....
( Click thumbnails to enlarge photos below )

Step by Step Directions Below....
Step #1. First things first, it's important to unscrew the drawers knobs.
Step #2. Take some electrical tape and cover the drilled knob holes from inside of the drawer. This is to prevent paint from spraying inside the drawers when your painting.
Step #3. Dust and clean the end table from top to bottom. I prefer alcohol because it evaporates fast and it works great ( just be sure that whatever you use is not oil based ). There maybe some scraping or sanding necessary, depending on the condition of the wood.
Step #4. After you allow the wood to completely dry, make sure you will be painting outside or in a place that is well ventilated.
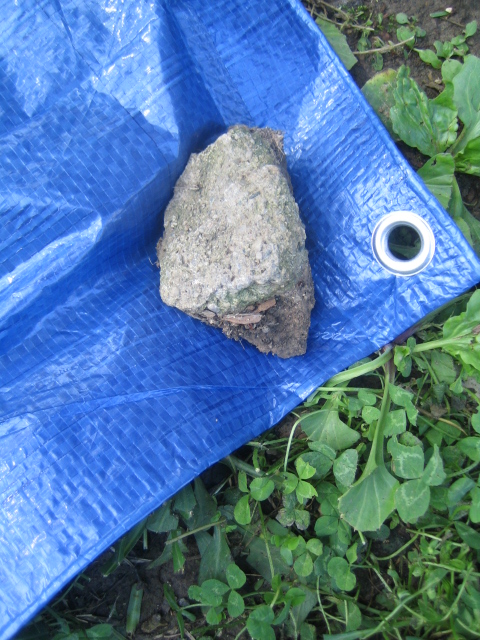
Step #5. Take your tarp and lay it flat from end to end and be sure you have small to medium sized rocks to anchor it down so that the wind wont move it around.
Step #2. Take some electrical tape and cover the drilled knob holes from inside of the drawer. This is to prevent paint from spraying inside the drawers when your painting.
Step #3. Dust and clean the end table from top to bottom. I prefer alcohol because it evaporates fast and it works great ( just be sure that whatever you use is not oil based ). There maybe some scraping or sanding necessary, depending on the condition of the wood.
Step #4. After you allow the wood to completely dry, make sure you will be painting outside or in a place that is well ventilated.
Step #5. Take your tarp and lay it flat from end to end and be sure you have small to medium sized rocks to anchor it down so that the wind wont move it around.
( Click to Enlarge Photo )
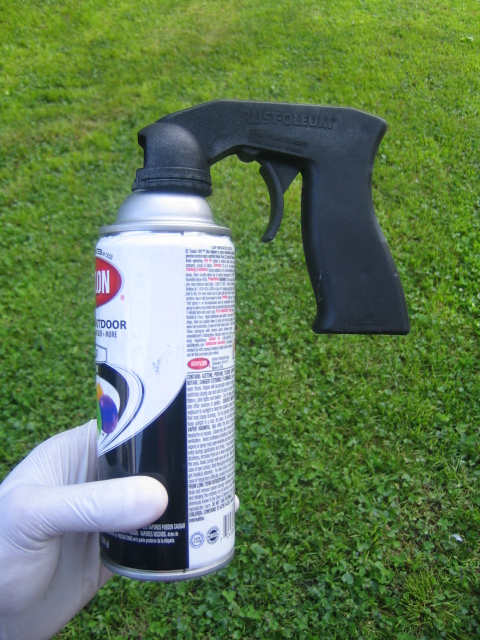
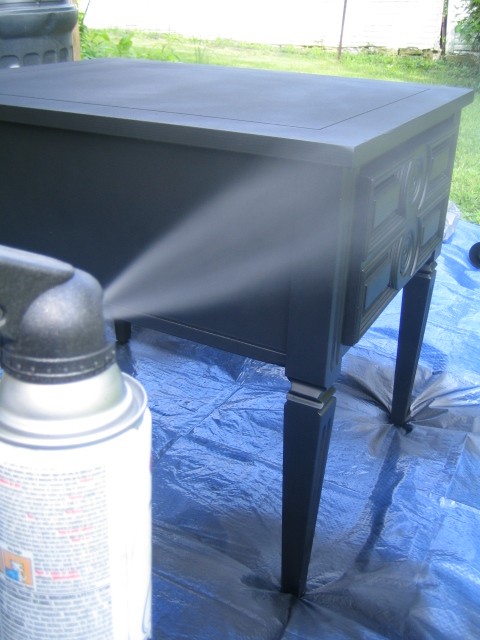
Step #6. Take your aerosol can and shake very well. After shaking consistently for about 1 whole minute, take your paint gun and attach it to the well shaken aerosol paint can and your ready to begin spray painting your end table!!!!
( Click to Enlarge Photo )
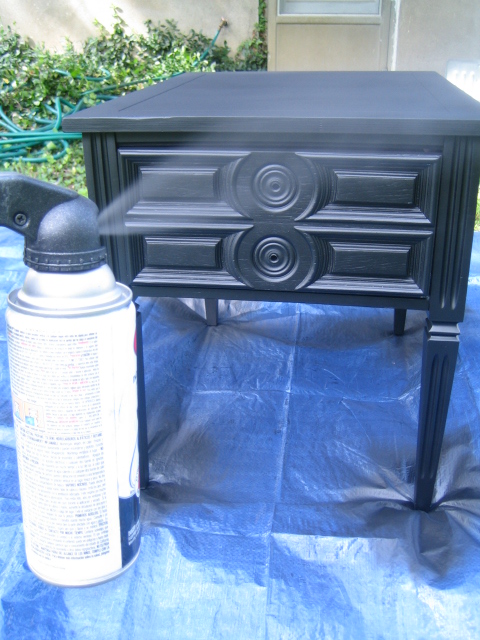
Step #7. Put your latex gloves on and place your safety mask onto your face, to prevent inhalation of paint fumes during the spray painting process. Leaving the drawer intact, place your end table on the center of the tarp. Stand at least 2-3 feet from the end table and begin spraying it with a graceful left to right/ right to left arm movement. This allows for an even spray with little to no dripping on the end table. Continue this spraying technique from beginning to the end of the spray painting process. After the initial coat, allow some time from drying and spray an additional coat or more ( as your prefer).
|
( Click to Enlarge Photo )
|
( Click to Enlarge Photo )
|
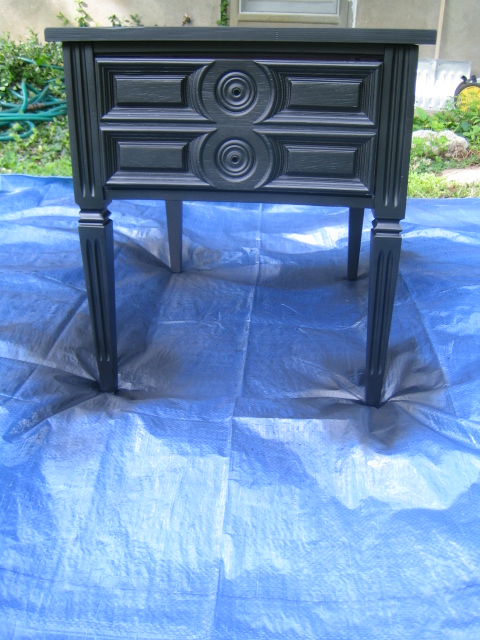
Step #8. Once your done spray painting your end table, allow it to dry and cure. I suggest at least a 24 hour period for this process.
( Click to Enlarge Photo )
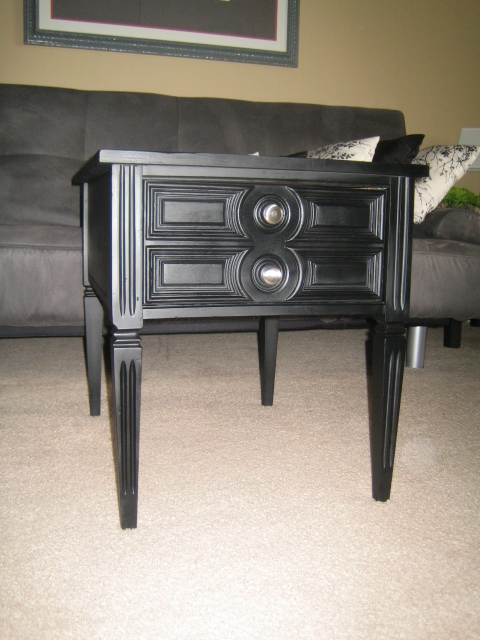
Step #9. Once the paint has finally dried, take your furniture polish and towel to wipe the painted areas of the end table. Doing this especially if you've painted it with a "flat" spray paint, will clean off the top coat color residue left over from the spraying process. When your finished wiping down the end table, you should be able to go over it with your index finger and have no paint color residue on it. Now the major labor portion is complete!!
Step #10. Now take the electrical tape off the inside of the drawers knob holes, and attach your new knob hardware.
Step #10. Now take the electrical tape off the inside of the drawers knob holes, and attach your new knob hardware.
( Click to Enlarge Photo )
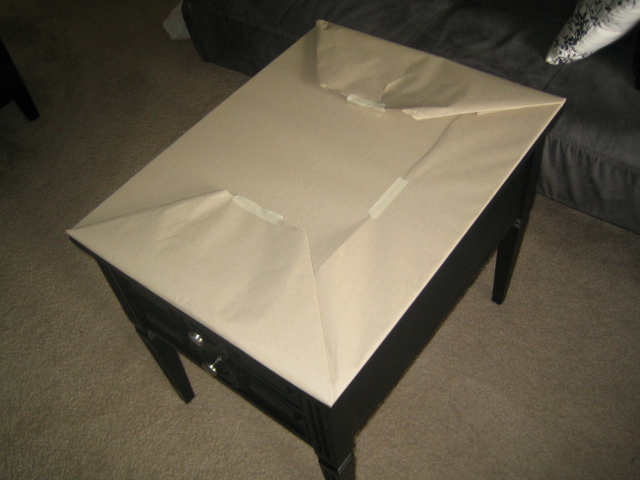
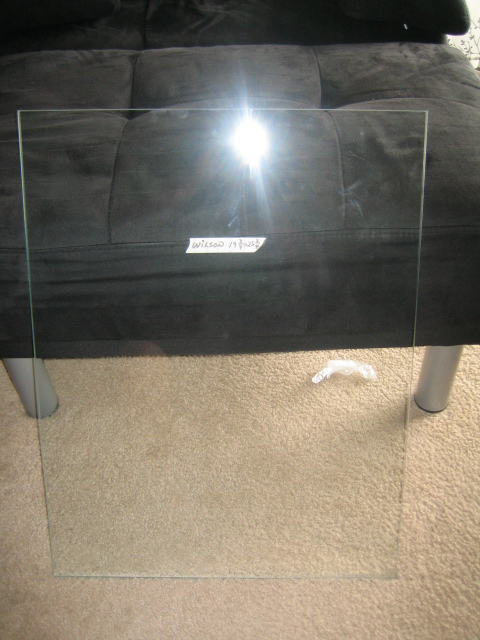
Step #11. I always like the aesthetic look of a glass top on my DIY tables. If you opt to top your end table with glass, be sure to take length x width measurements and contract a local glass cutter and give them those extact dimensions. Once you finally get your custom glass top, lay it on top of your end table to make for sure it's an exact fit.
( Click to Enlarge Photo )
Step #12. Unwrap your custom glass and clean it with window/glass cleaner on the front and back sides of the glass.
( Click to Enlarge Photo )
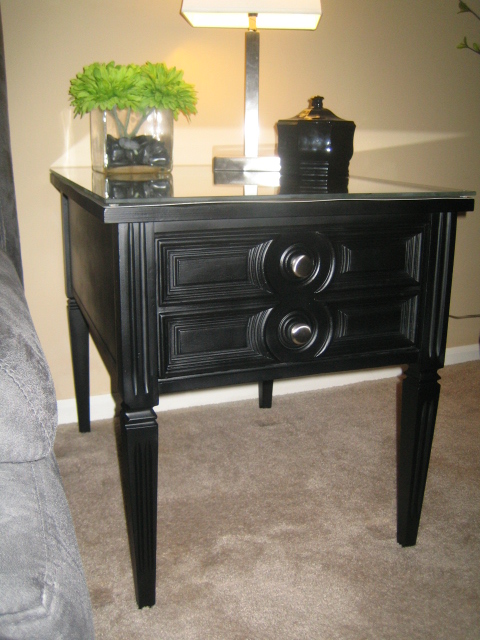
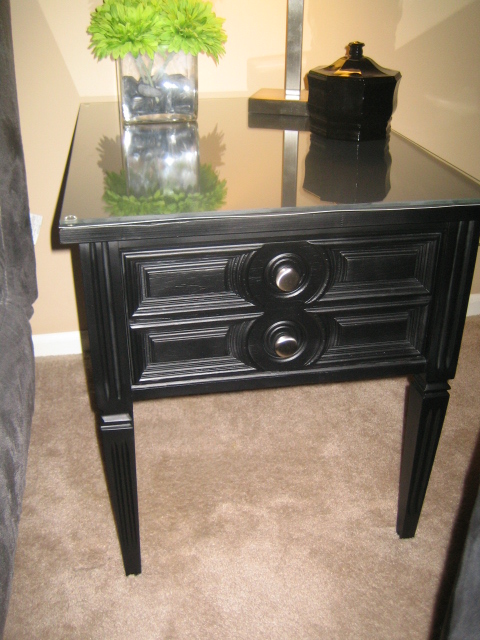
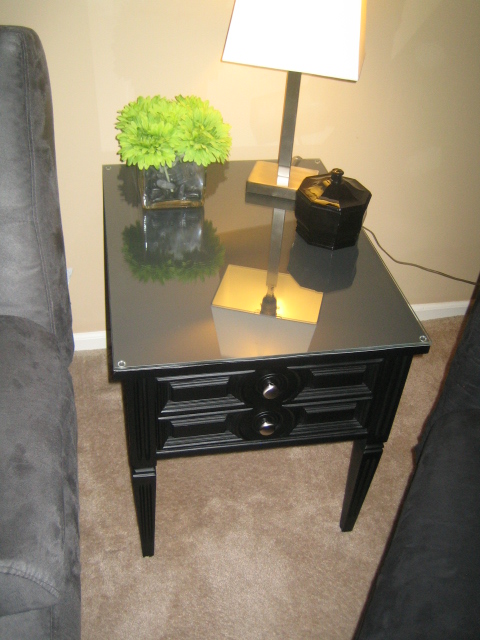
Step #13. Place your custom glass on top of your end table and now it's ready to add an interestingly new element of decor to your living room or bedroom.
Voila!
|
( CLick to Enlarge Photo )
|
( Click to Enlarge Photo )
|
( Click to Enlarge Photo )
|
Total Investment ........ $55!


Terms Of Use | Privacy Notice | Sign Up | Advertisers | Contact Us | Share Us | Archives | Site Feedback

